So, lets start with a crucial idea:
The basis of realistic nebula painting is shape randomness.
I have found that my best nebula are those that I didn't plan at all, they emerged from me haphazardly spraying with a brush and then I picked out some cool shapes.
So lets begin:
Step 1: Background Stars
The creation of stars is outside the scope of this tutorial. My method is to use a custom brush with lots of size, scattering, and opacity variation. You can also use noise layers to create a quick starfield.For a quick guide to stars, see this: Stars from Noise Tutorial by For-as
These stars are painted on a black layer set to Linear Dodge.
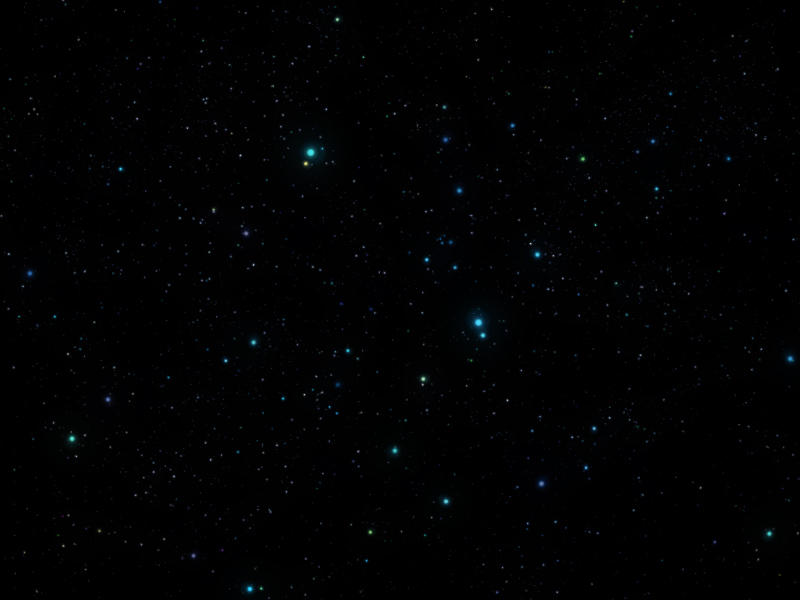
These stars were haphazardly thrown out there because in a minute, some of them are going to be erased.
Step 2: Haze
Now time to bring out that simple fuzzy round brush, I set the opacity very low so that it can build up slowly. I turned off the stars so you can see that it's just really simple blobs right now. I am painting with linear dodge, a dark, heavily saturated blue on the black background layer.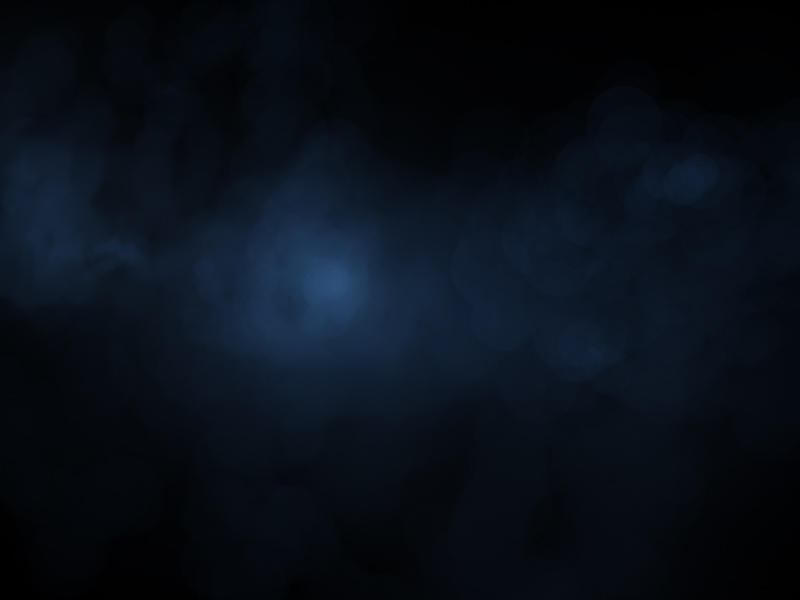
Here is what it looks like when I turn the stars back on.
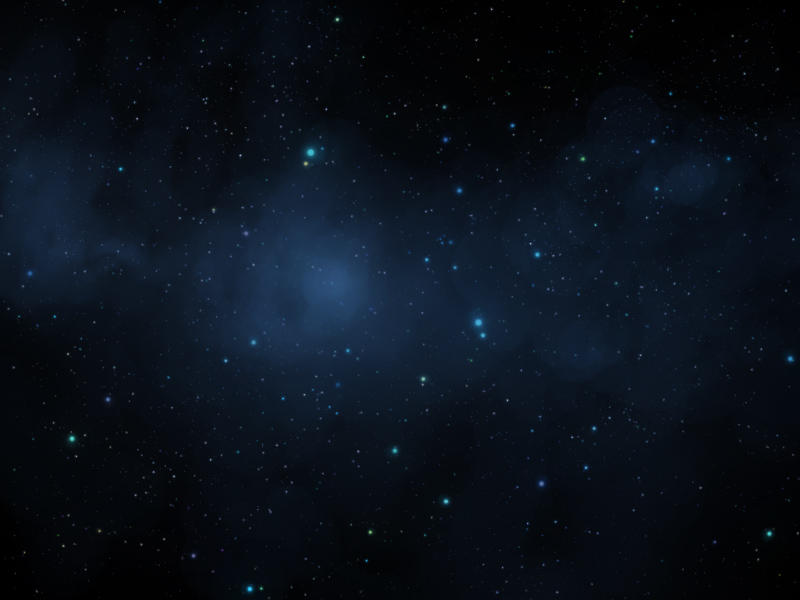
Next I erase the stars that overlap the haze, this is a great way to add depth and make the cloud feel more tangible as an object in space.
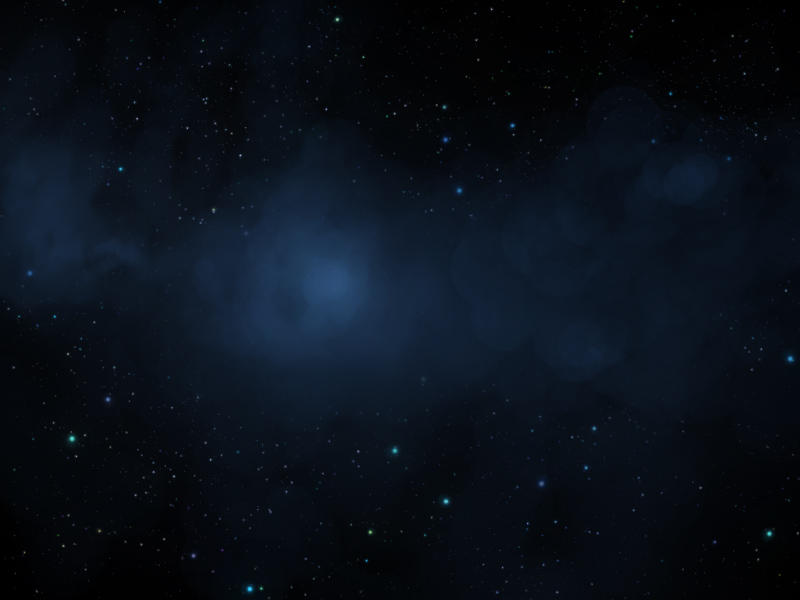
Now I add a few larger, blue stars in the foreground on a new layer. These stars are those that lie between the viewer and the cloud. Later we will add interaction between some of these stars and the cloud.
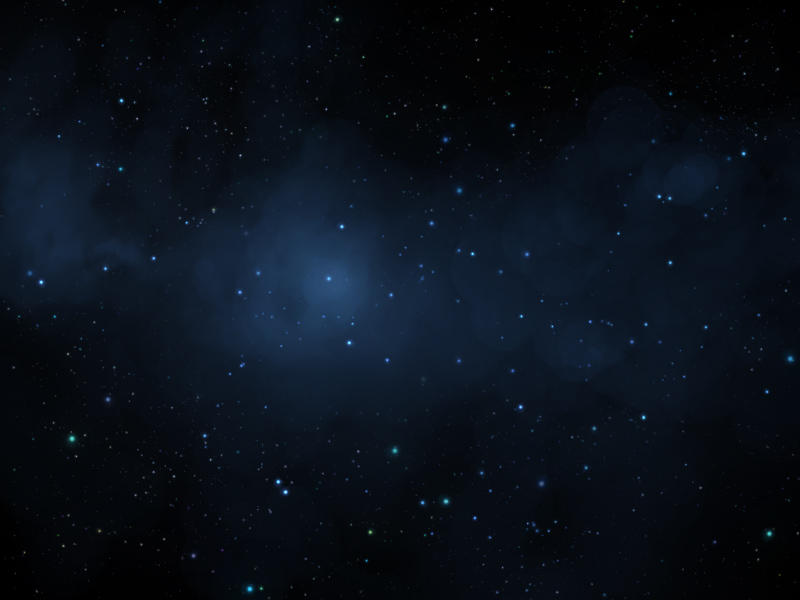
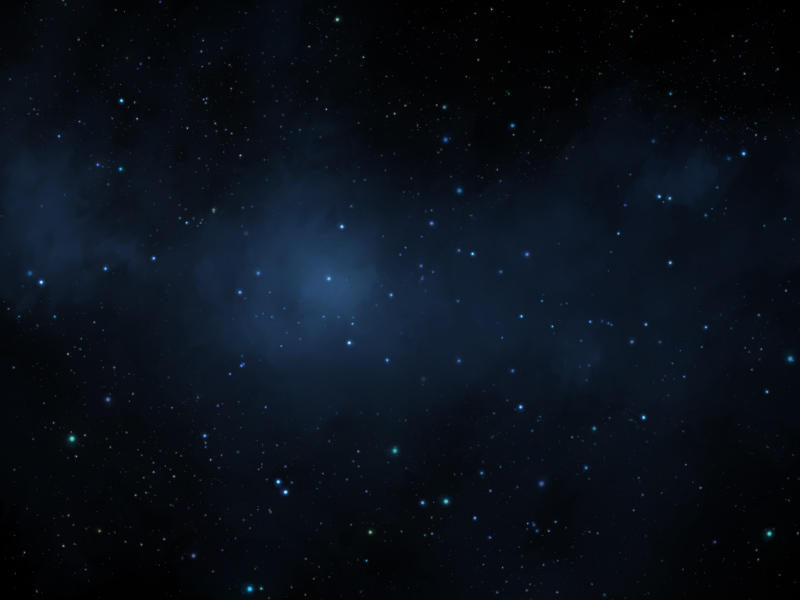
The cloud had remnant of brush strokes in it, as well as some obvious circle shapes, so I smudged the layer to make it look better. Try to avoid the smudge streaks that let everyone know you used a Photoshop smudge tool. Add some scattering and size jitter to your brush to keep it smooth.
Step 3: Brilliance
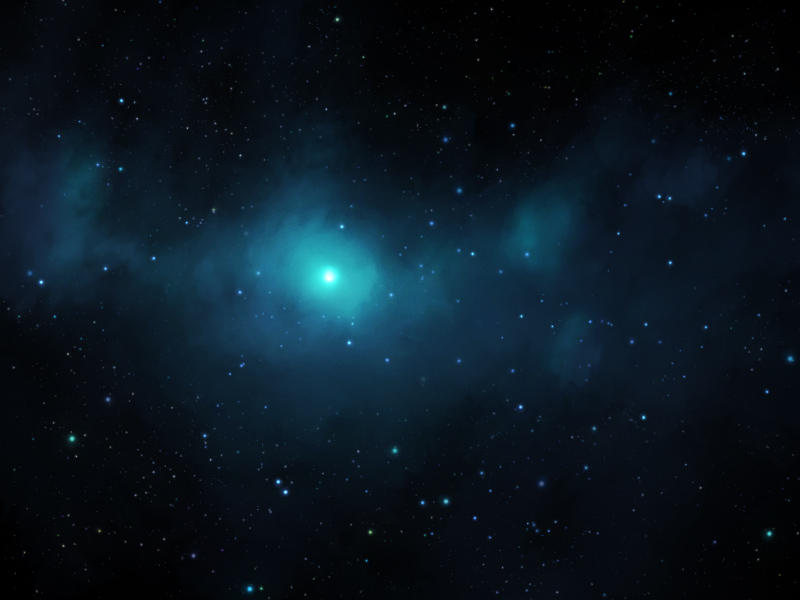
So we've got a pretty basic blue cloud, but we need to brighten it up. This is where the fun begins. I choose a bright teal color (I don't want to just use more blue), set it to overlay with a lower opacity and begin adding a bright star in the middle of the cloud.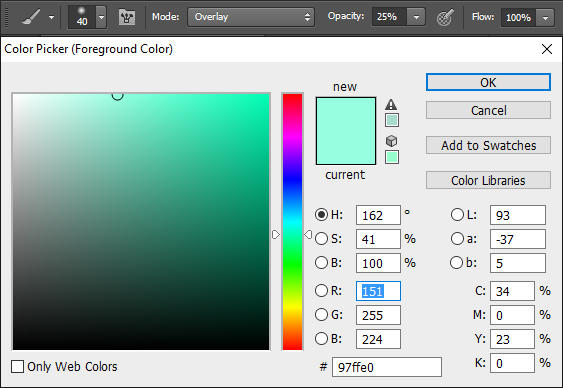
As you can see, I've also painted some lighting on the clouds on the right and far left, in an attempt to make it a little more 3D. I am pleased with the color. Overlay is an awesome blending mode if you use it right.
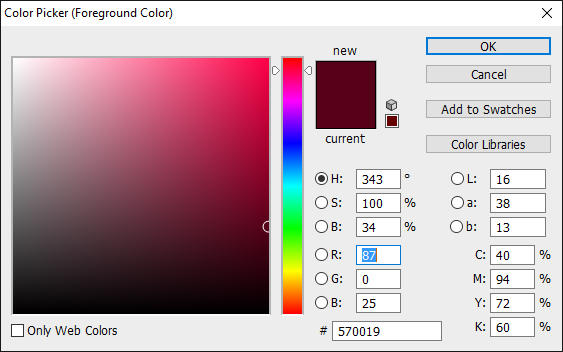
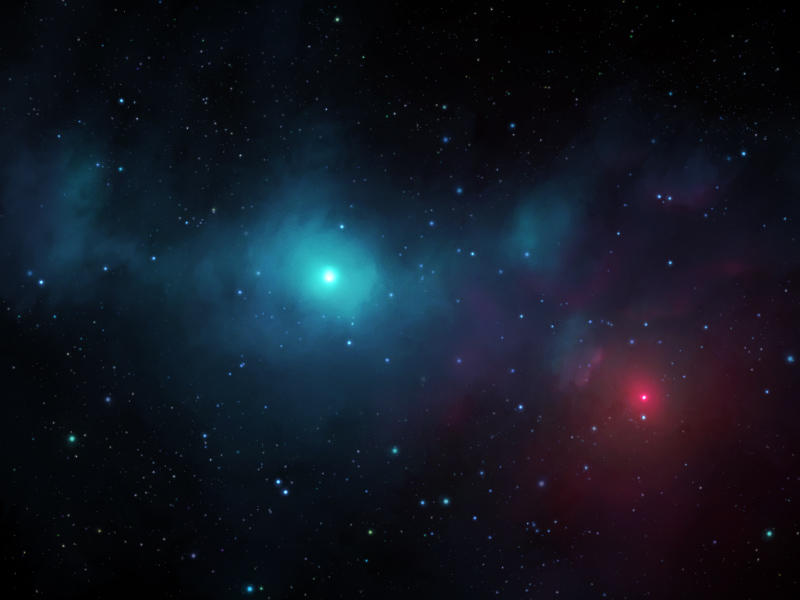
At about this stage of all my paintings I realize I am painting another blue picture and need to add some color contrast. So here I choose a dark fuchsia color, set my brush blending mode to Linear Dodge and paint a second star.
I also add some lighting on the clouds near it, the colors mix into a nice violet color.
Step 4: Texture and Shapes
This is a perfectly acceptable, smoky, gaseous cloud. If you like you can stop here and master the steps up until this point. However, for me, this is where the fun really begins. Lets add some texture to this nebula to make it less blurry. In this step I have painted some haze and texture around the red star, and some of the smaller stars, chosen at random. This was done with that same circle brush, but smaller this time. Try painting some haze around a little blue star, then erasing or smudging parts of the haze.
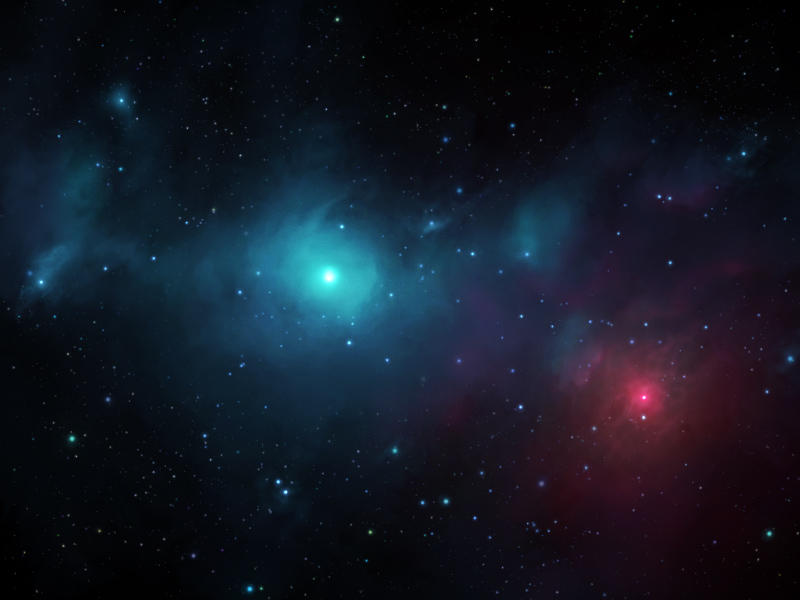
Shaping time! I pick out shapes, at random, and define a light edge around them. Brighten the edge that faces your bright star. Near the focal point I paint around the edges and encircle the star, suggesting it is in a sort of "cave" inside this dense nebula.
These floating shapes that now fill our scene are called "Nodules". They are one of my favorite parts of nebula. The "sciencey" explanation is that they are dense pockets of gas that are resisting the forces of solar wind that have blown away the thinner gas around them.
Step 5: Edges
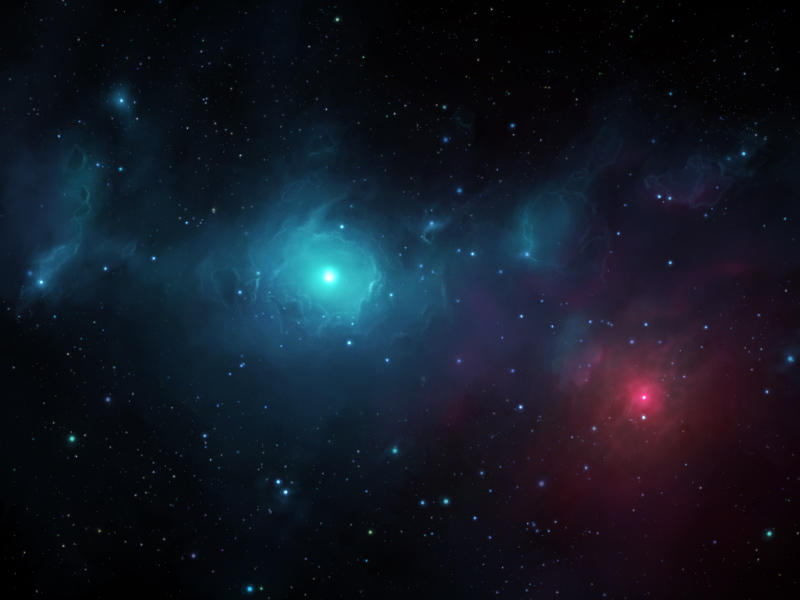
This is an optional step for everyone. I am not certain that it much improves this particular painting, but hey I did it for you guys to learn. What I did is I started outlining the edges of this nebula. The effect is to make it appear like this cloud is very dense, and has clearly defined edges. I take a medium sized circular fluffy brush and lightly draw a border around my clouds. 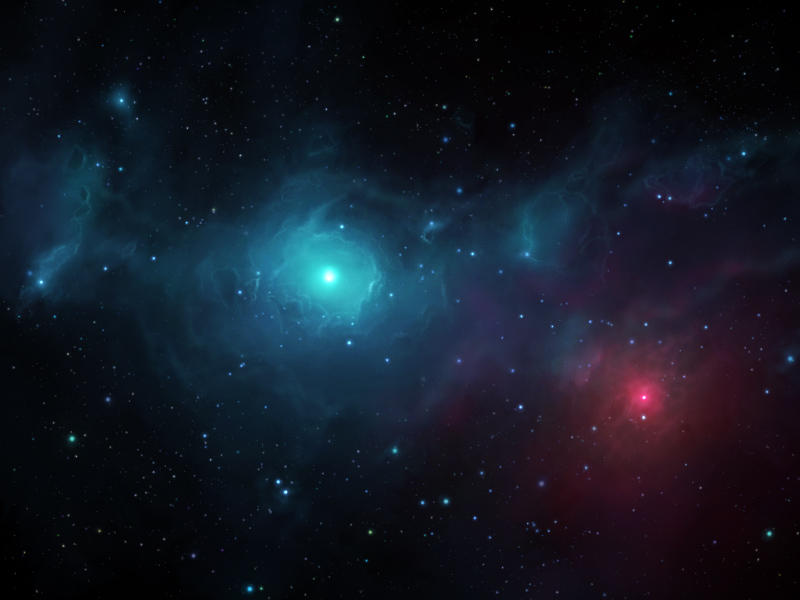
Next I make the brush smaller and make a a sharper edge. The sharp edge and the fluffy edge go well together. Note that this is very faint, and the border is not a constant brightness and thickness. It comes and goes.
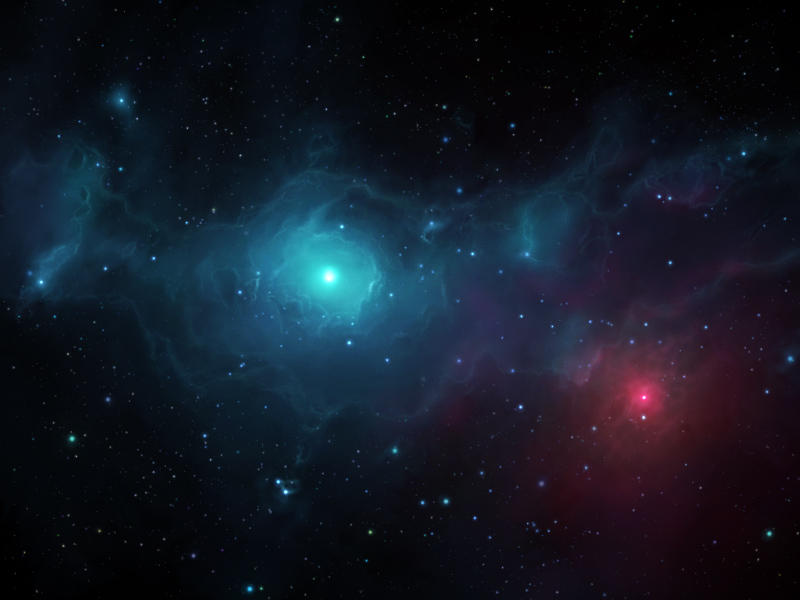
Next I noticed that after adding these edges the cloud felt too bright. So I switch to a multiply blending mode and paint some darker areas over where I think the cloud should be dark.
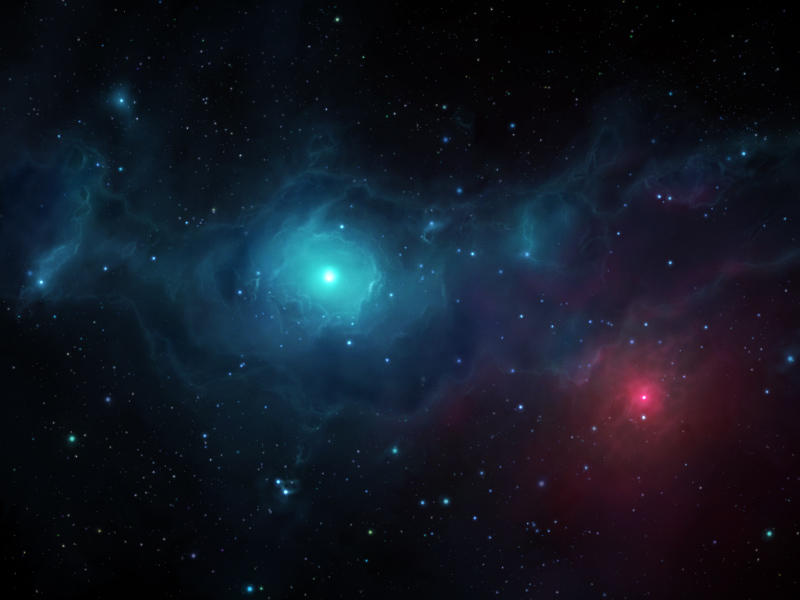
The red/pink star felt like it needed some attention so I highlight the cloud borders with some pinkish red on the sides facing that star, and added some more free smoke that ends up looking purple when it mixes with the blue.
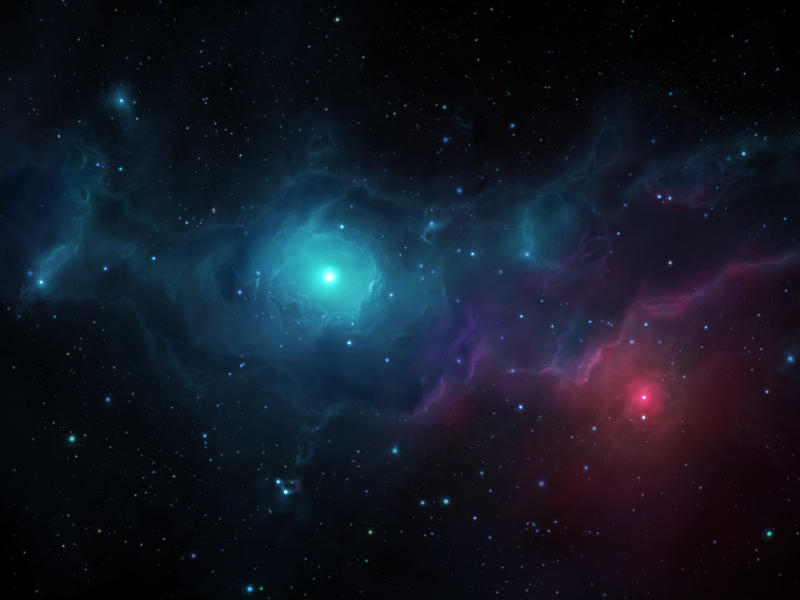
Step 6: Final Touches
A great way to make your nebula pop is to add light rays. I make a new layer and lightly paint these in with the basic brush (no scattering or jitters). Using a radial blur (zoom) is perhaps a better way to accomplish this. Both the major stars get this treatment.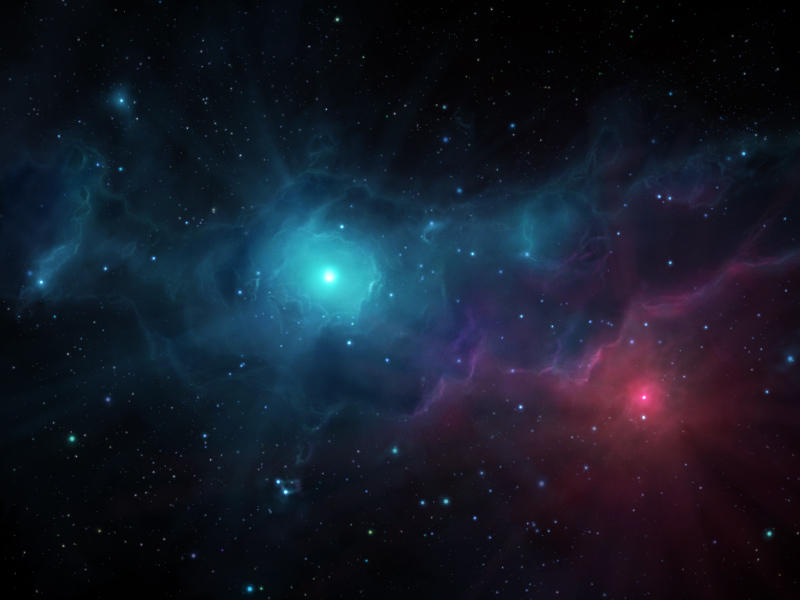
Now the final details. I add lighting lines to the clouds near the focus, because I want to make this part of the image to attract more attention. I also sharpen the cloud layer by about 50% and the stars by about 35% (1 pixel diameter sharpen using the "unsharpen mask" filter).
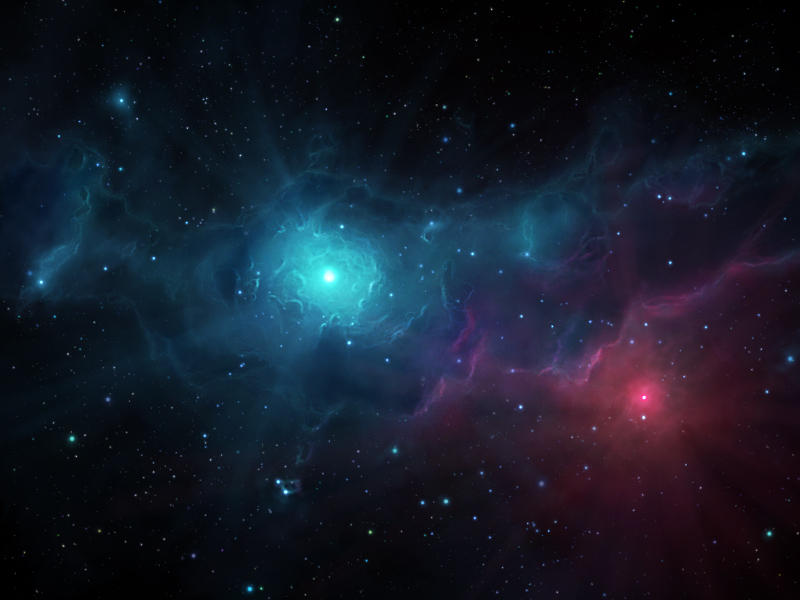
And that's how I paint nebulas. The main component here that requires a lot of practice is establishing lighting on clouds. This is a result of looking at real pictures of clouds, both terrestrial and in space, and practicing different ways of adding the light to the clouds.
I hope everyone learned something and I look forward to seeing what everyone creates after looking through this tutorial. Please feel free to send me a note showing off your new nebula.
For the PSD of this painting click here.


